How to Fix a Water-Damaged Phone: The Complete Step-by-Step Guide
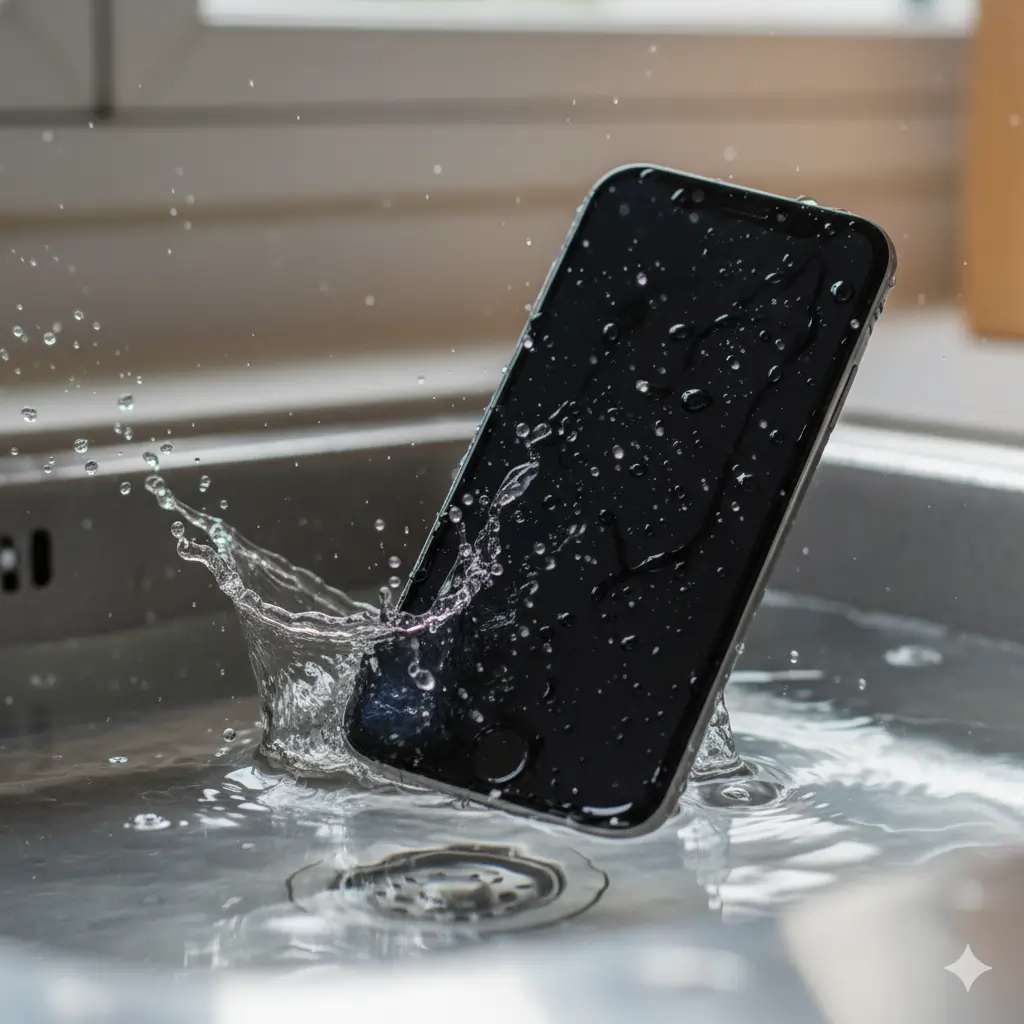
Accidents happen — one moment you’re scrolling through your phone, and the next it slips into the sink, pool, or worse, the toilet.
If you’re facing a water-damaged phone, don’t panic! Acting fast and following the right steps can save your device from permanent damage and restore its audio clarity, charging ability, and overall performance.
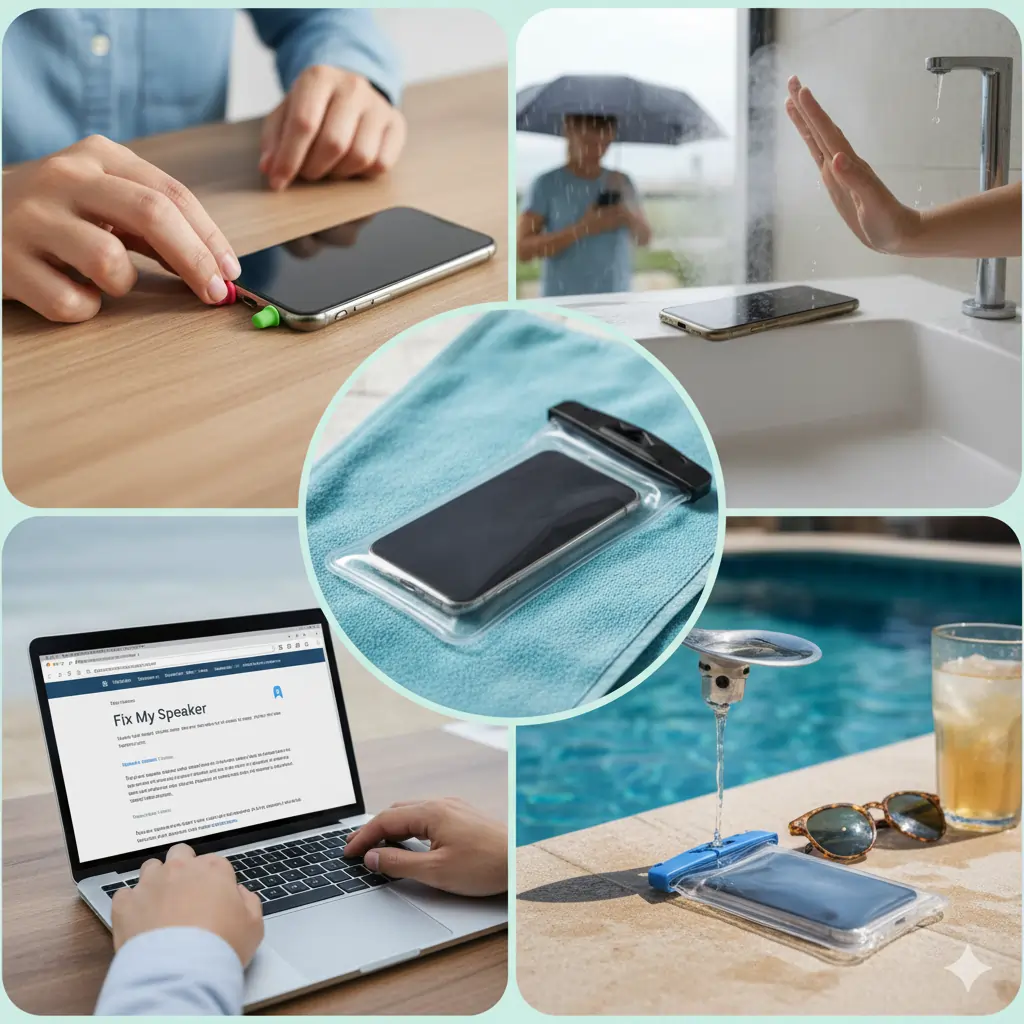
This complete guide from Fix My Speaker walks you through what to do (and what NOT to do) when your phone gets wet — from removing water out of your speakers to safely drying your charging port.
Immediate Actions to Take (First 30 Seconds Matter!)
Time is critical. The longer water stays inside your phone, the more likely it causes corrosion or short-circuits.
Here’s what you should do right away:
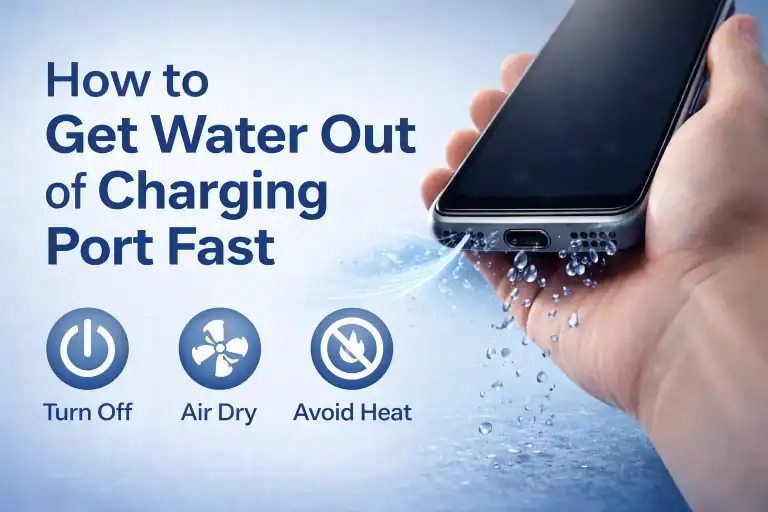
- Turn off your phone immediately.
Don’t check if it still works — water and electricity are a bad mix. - Unplug accessories. Remove charging cables, earphones, SIM card, and case.
- Gently shake the phone to remove surface water (but don’t overdo it).
- Avoid pressing buttons too hard — that can push water deeper.
💡 Tip: If your phone fell in salt water, rinse it lightly with distilled water before drying to remove salt residues that corrode faster.

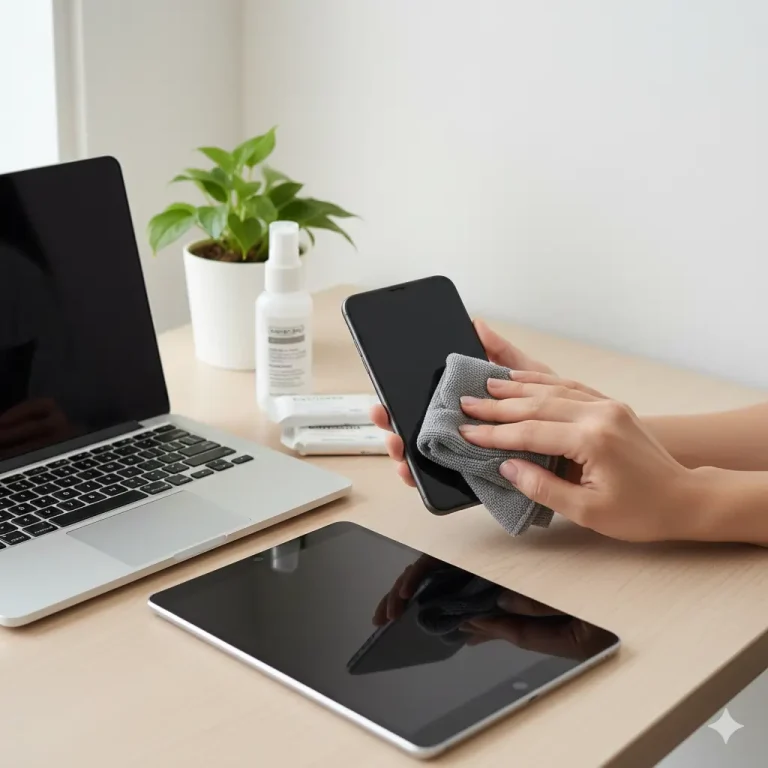
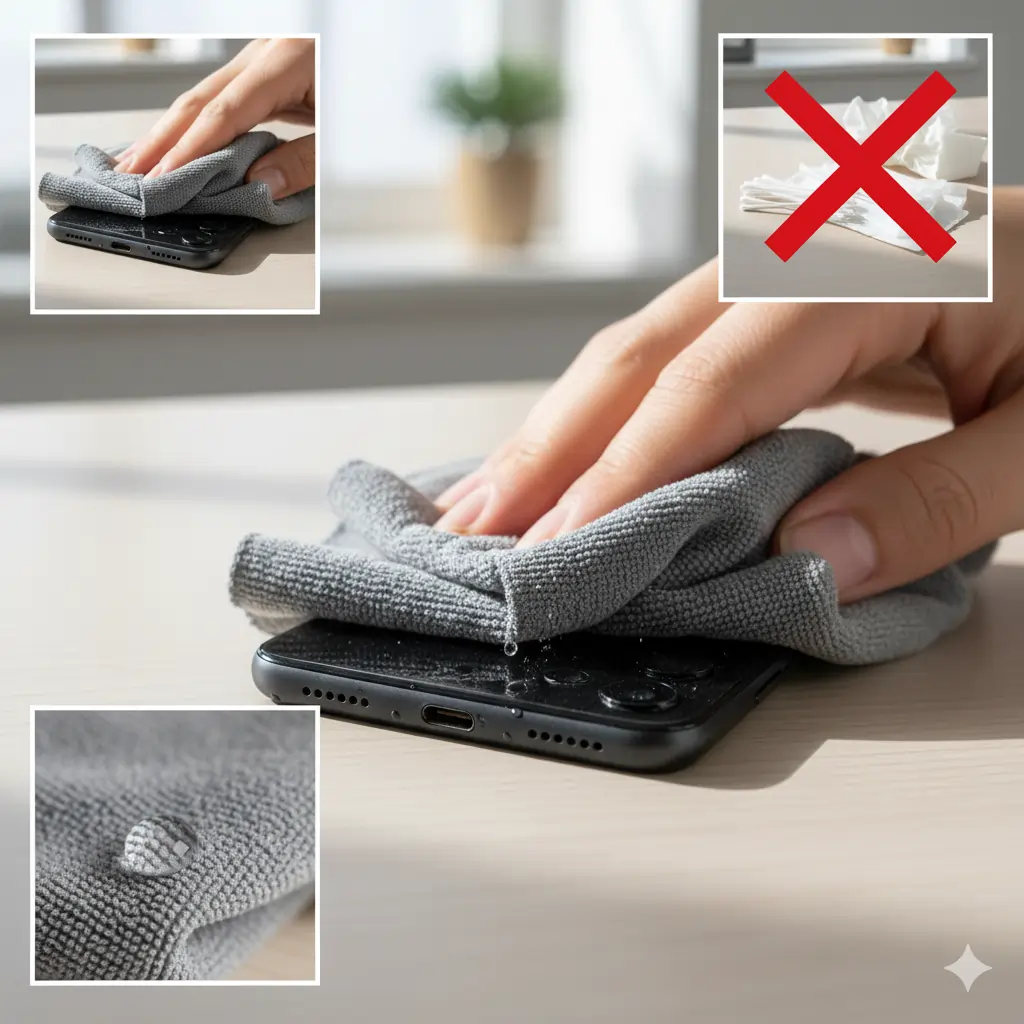
Dry the Exterior Thoroughly
Use a clean, absorbent microfiber cloth or paper towel to pat the exterior dry.
Focus on:
- Speaker grills
- Charging port
- Headphone jack (if any)
- Microphone area
⚠️ Avoid cotton swabs or tissues inside small holes. They can leave lint that blocks sound later.
Use Absorbent Materials (Skip the Rice!)
The classic “put it in rice” advice? ❌ Outdated and risky.
Rice grains can leave starch residue or dust that clogs your ports.
Instead, use:
- Silica gel packets – the same kind found in shoe boxes.
- Dry & Dry Silica Gel Packets – specifically designed for electronics.
- Moisture absorber pouches – available online or at hardware stores.
Place your phone in an airtight container with these materials for at least 24–48 hours.
Use a Fan or Gentle Airflow (with Caution)
If you don’t have silica gel, use a desk fan or cool air from a blow dryer (not hot air).
- Keep the air moving across all ports.
- Hold the phone about 30–40 cm away.
- Blow for 10–15 minutes, then let it rest.
⚠️ Do not use direct heat sources (like ovens, hair dryers on high, or microwaves). They can warp components.

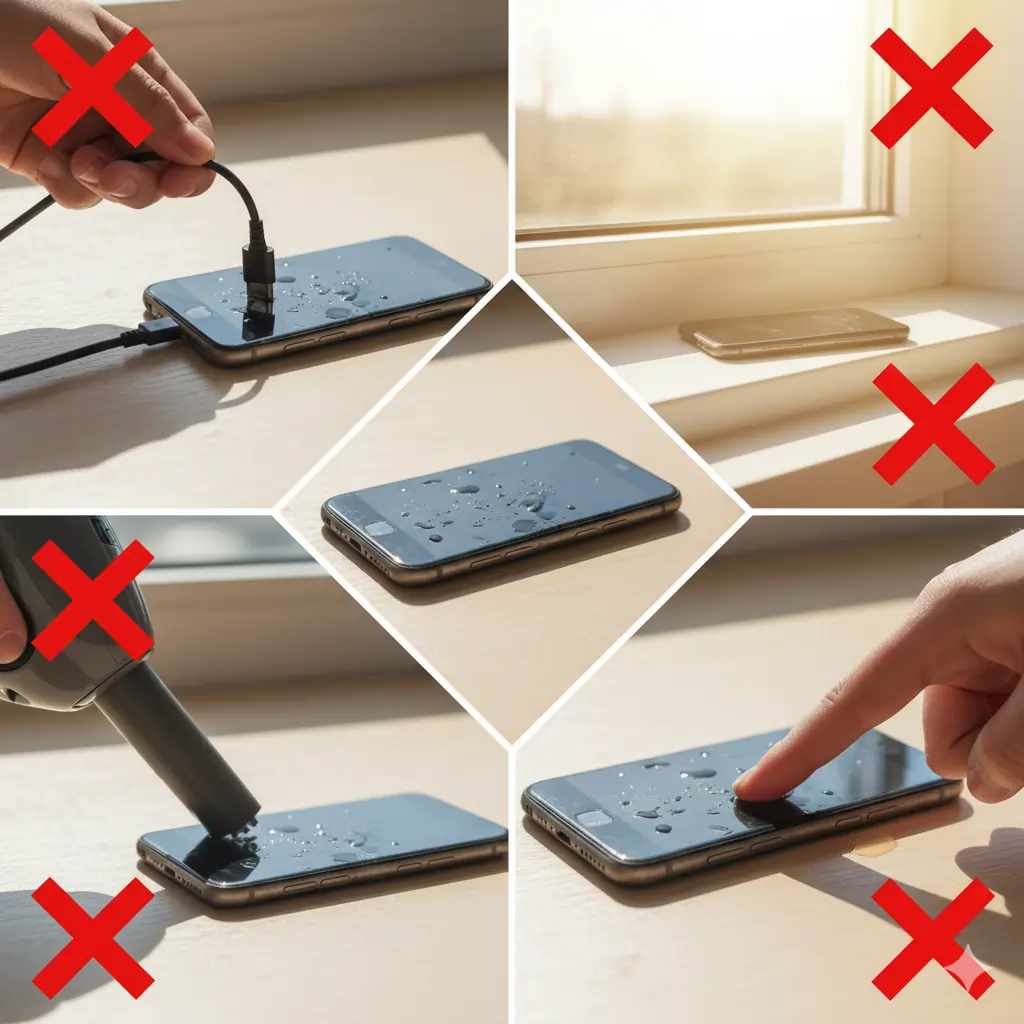
What NOT to Do-How to Fix a Water-Damaged Phone
- Don’t charge your phone while it’s wet.
- Don’t place it under sunlight for too long.
- Don’t use vacuum cleaners or compressed air – they can push water inside.
- Don’t keep turning it on “just to check.”
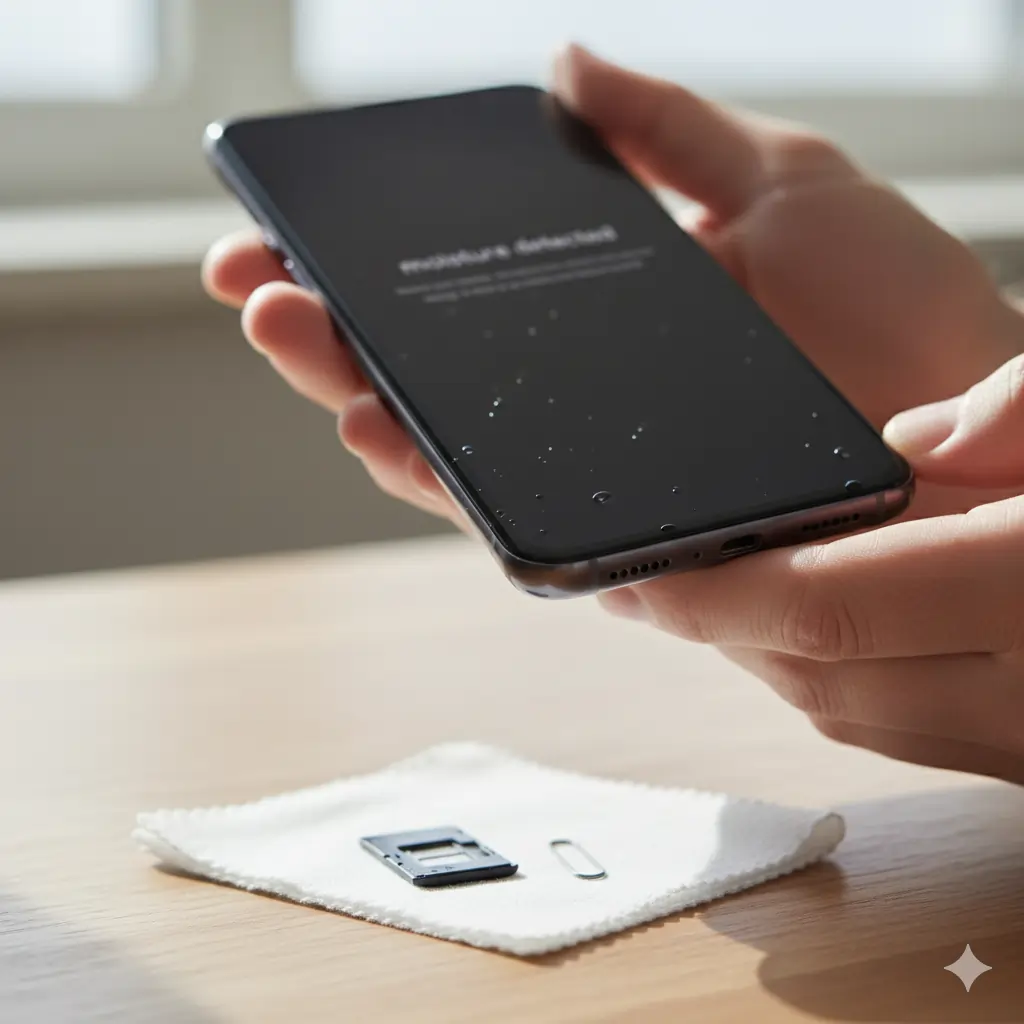
Check for Damage Before Powering On
After 24–48 hours of drying:
- Inspect your charging port for moisture — if it says “moisture detected,” wait longer.
- Shake the phone gently — if you still hear a muffled sound, water might be trapped inside the speaker vents.
- Avoid re-inserting the SIM until everything’s fully dry.
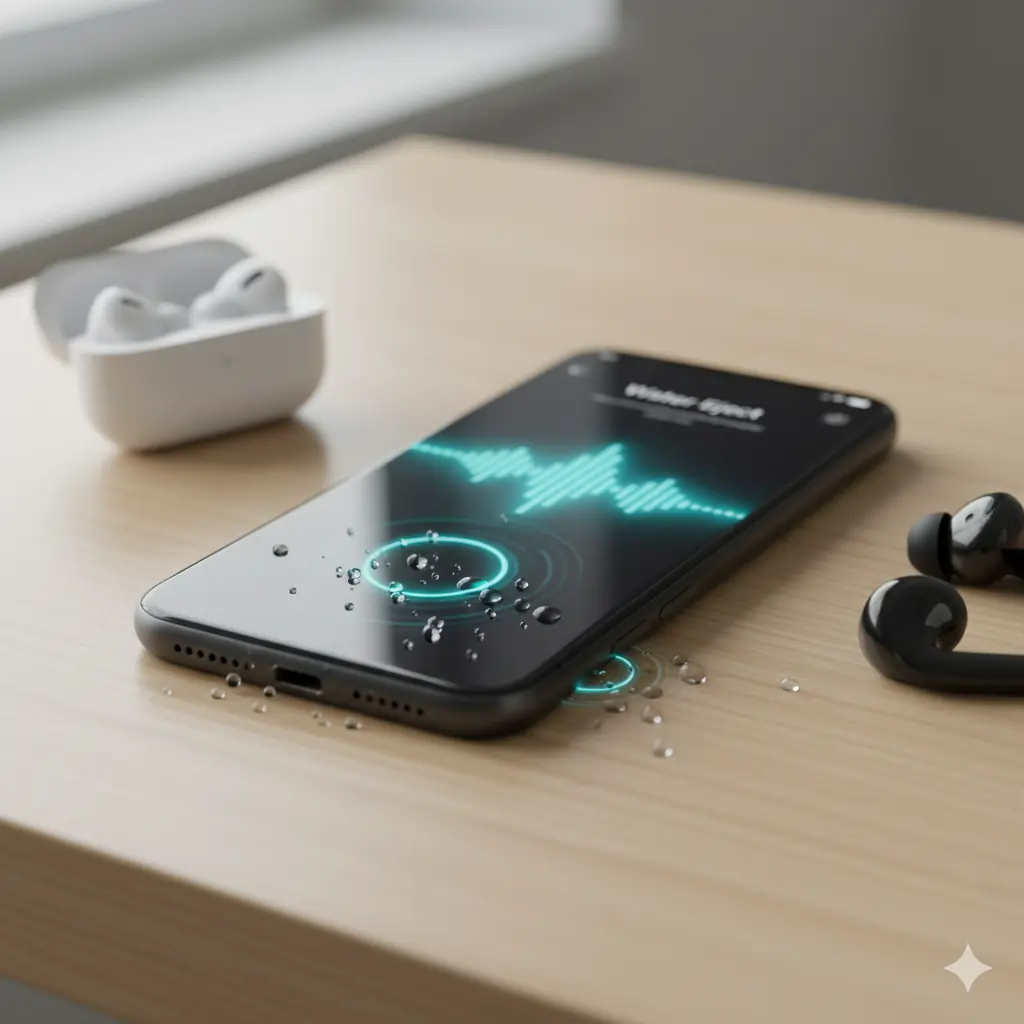
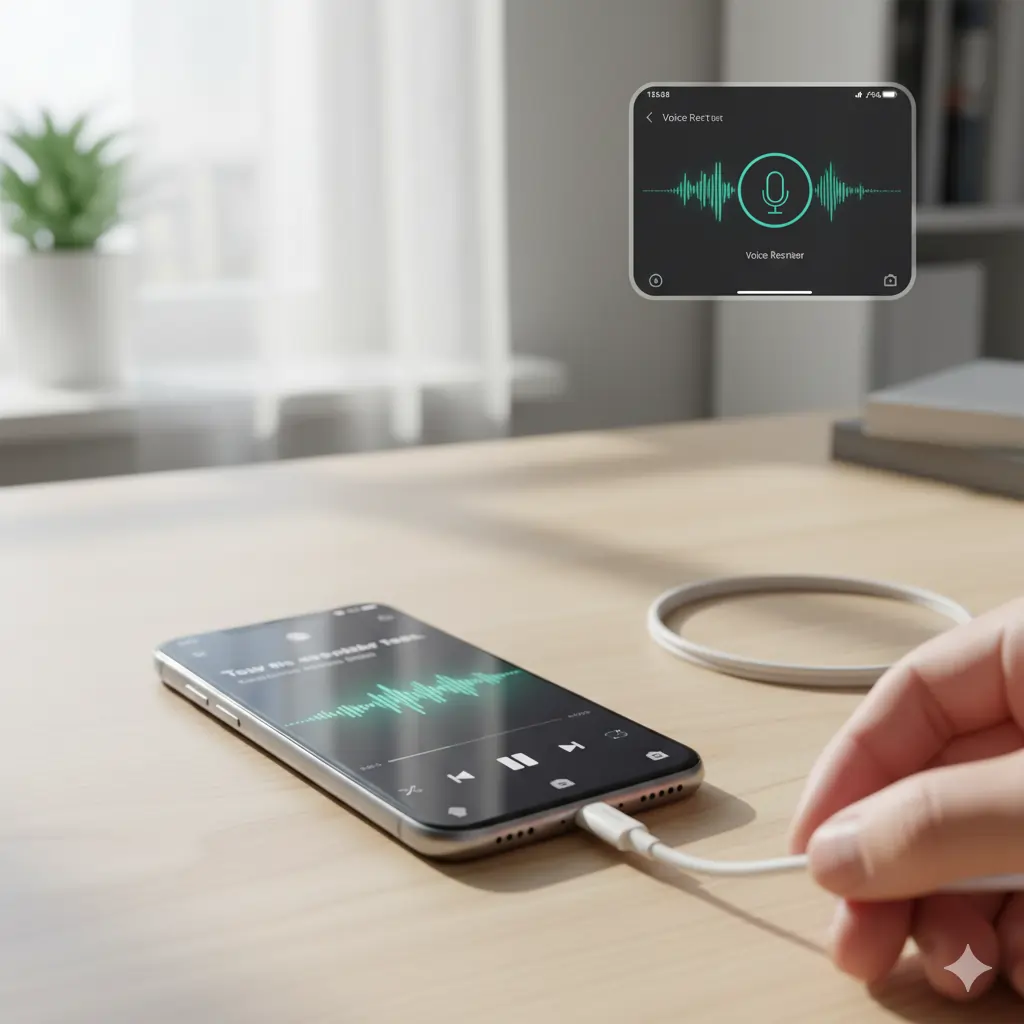
Restore Clear Sound (Eject Water from Speaker)
If your phone sound is muffled, distorted, or buzzing — don’t worry!
Use a sound-based water removal tool to eject moisture from your speakers.
🎧 Try our Fix My Speaker Water Eject Tool – it plays special low-frequency sound waves that vibrate trapped water droplets out of your phone’s speakers safely.
You can use this method for:
- iPhones (Water Eject Shortcut)
- Android phones (Speaker Cleaner)
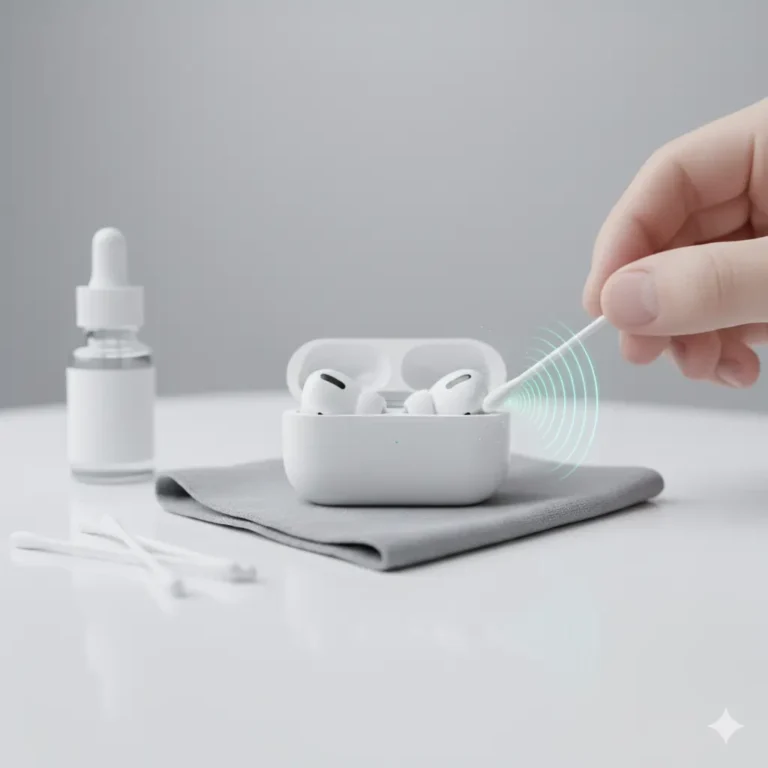
- AirPods or Bluetooth earphones
💧 These sound frequencies mimic the “Eject Water” shortcut available on iPhones — no app needed, just your browser.
Testing the Phone-How to Fix a Water-Damaged Phone
Once dry and cleaned:
- Plug in your charger and check if it connects.
- Test both top and bottom speakers by playing a song.
- Record a short voice memo to test the microphone.
- If you notice crackling audio or distorted vibration, rerun the speaker cleaner tool once more.
If your charging port still shows moisture warning, leave it unplugged for a few more hours or use a soft cloth corner to dab it carefully.
Seek Professional Help If Needed
If the screen remains black, the touch is unresponsive, or your phone keeps rebooting — internal circuits might be damaged.
In that case: How to Fix a Water-Damaged Phone.
- Visit an authorized service center.
- Avoid cheap local fixes that use heat guns.
- Always ask for ultrasonic cleaning — it safely removes corrosion from the motherboard.

Prevent Future Water Damage
If the screen remains black, the touch is unresponsive, or your phone keeps rebooting — internal circuits might be damaged.
In that case:
- Visit an authorized service center.
- Avoid cheap local fixes that use heat guns.
- Always ask for ultrasonic cleaning — it safely removes corrosion from the motherboard.
Conclusion
How to Fix a Water-Damaged Phone isn’t always the end — with the right steps, quick thinking, and tools like Fix My Speaker’s eject sound, you can often restore full functionality without spending a rupee.
Remember: speed, patience, and the right method make all the difference.
Next time your phone takes a dive — stay calm, act fast, and let sound do the drying for you.
“For official advice on handling water-damaged iPhones, check Apple’s support guide.”
Related Posts

Subscribe for More Tips
Stay updated with the latest phone care tools and tutorials!
👉 Subscribe to FixMySpeaker for free guides and smart DIY tricks to protect your devices.